前言 美化之前 美化的时候需要修改网站的源文件、添加样式、js之类的,需要一点基础,可以参考
🏠 站内链接,放心访问
Hexo博客添加自定义css和js文件
June's Blog
🏠 站内链接,放心访问
Butterfly自用全局变量
June's Blog
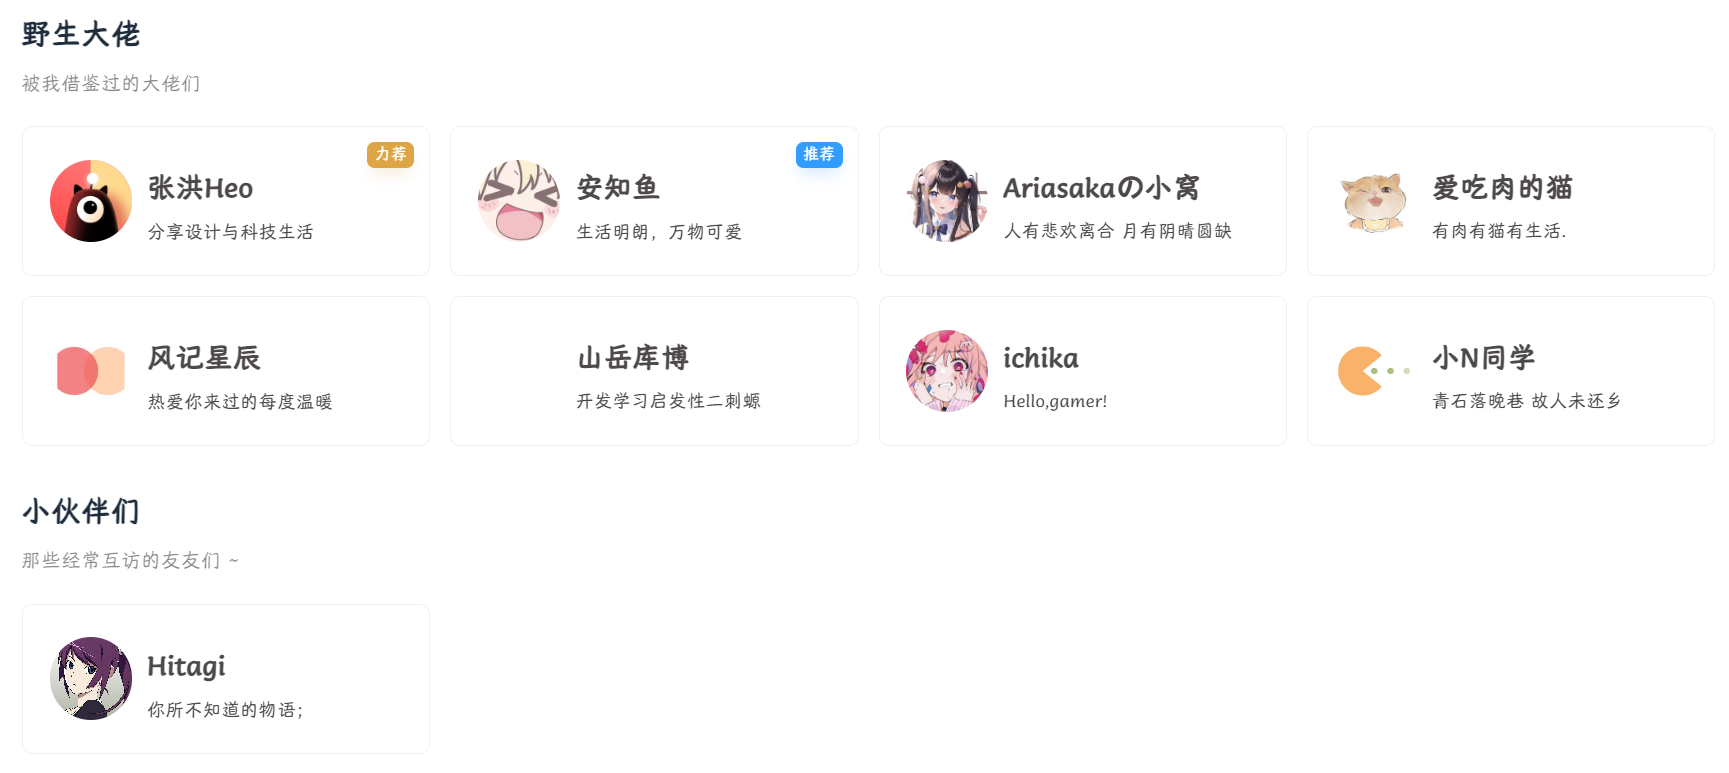
效果
🏠 站内链接,放心访问
参考链接
🔗 站外链接,请注意甄别
🔗 站外链接,请注意甄别
爱吃肉的猫大佬的教程很详细,就不多做解释。
不知道是我编辑器问题,copy过来的格式有问题,就把我的flink.pug放在下面
1
2
3
4
5
6
7
8
9
10
11
12
13
14
15
16
17
18
19
20
21
22
23
24
25
26
27
28
29
30
31
32
33
34
35
36
37
38
39
40
41
42
43
44
45
46
47
48
49
50
51
52
53
54
55
56
57
58
59
60
61
62
63
64
65
66
67
68
69
70
71
72
73
74
75
76
77
78
79
80
81
82
83
84
85
86
87
88
89
90
#article-container .flink - let pageContent = page.content if page.flink_url script. (()=> { const replaceSymbol = (str) => { return str.replace(/[\p{P}\p{S}]/gu, "-") } let result = "" fetch("!{url_for(page.flink_url)}") .then(response => response.json()) .then(str => { for (let i = 0; i < str.length; i++) { const replaceClassName = replaceSymbol(str[i].class_name) const className = str[i].class_name ? `<h2 id="${replaceClassName}"><a href="#${replaceClassName}" class="headerlink" title="${str[i].class_name}"></a>${str[i].class_name}</h2>` : "" const classDesc = str[i].class_desc ? `<div class="flink-desc">${str[i].class_desc}</div>` : "" let listResult = "" const lists = str[i].link_list for (let j = 0; j < lists.length; j++) { const hexToRgb = (hex) => { const r = parseInt(hex.slice(1, 3), 16); const g = parseInt(hex.slice(3, 5), 16); const b = parseInt(hex.slice(5, 7), 16); return `${r},${g},${b}`; }; let rgbColor = hexToRgb(label_color); let label = "" if (lists[j].label) { label = `<span class="flink-item-tag" style="background-color: ${label_color}; box-shadow: 0 8px 12px -3px rgba(${rgbColor}, .20)">${lists[j].label}</span>`; } listResult += ` <div class="flink-list-item"> ${label} <a href="${lists[j].link}" title="${lists[j].name}" target="_blank"> <div class="flink-item-icon"> <img class="no-lightbox" src="${lists[j].avatar}" onerror='this.onerror=null;this.src="!{url_for(theme.error_img.flink)}"' alt="${lists[j].name}" /> </div> <div class="flink-item-name">${lists[j].name}</div> <div class="flink-item-desc" title="${lists[j].descr}">${lists[j].descr}</div> </a> </div>` } result += `${className}${classDesc} <div class="flink-list">${listResult}</div>` } document.querySelector(".flink").insertAdjacentHTML("afterbegin", result) window.lazyLoadInstance && window.lazyLoadInstance.update() }) })() else if site.data.link - let result = "" each i in site.data.link - let className = i.class_name ? markdown(`## ${i.class_name}`) : "" - let classDesc = i.class_desc ? `<div class="flink-desc">${i.class_desc}</div>` : "" - let listResult = "" each j in i.link_list - let label_color = j.label_color || '#0084FF' - const hexToRgb = (hex) => { const r = parseInt(hex.slice(1, 3), 16); const g = parseInt(hex.slice(3, 5), 16); const b = parseInt(hex.slice(5, 7), 16); return `${r},${g},${b}`; }; const rgbColor = hexToRgb(label_color); let label = "" if (j.label) { label = `<span class="flink-item-tag" style="background-color: ${label_color}; box-shadow: 0 8px 12px -3px rgba(${rgbColor}, .20)">${j.label}</span>` } listResult += ` <div class="flink-list-item"> ${label} <a href="${j.link}" title="${j.name}" target="_blank"> <div class="flink-item-icon"> <img class="no-lightbox" src="${j.avatar}" onerror='this.onerror=null;this.src="${url_for(theme.error_img.flink)}"' alt="${j.name}" /> </div> <div class="flink-item-name">${j.name}</div> <div class="flink-item-desc" title="${j.descr}">${j.descr}</div> </a> </div>` - - result += `${className}${classDesc} <div class="flink-list">${listResult}</div>` - pageContent = result + pageContent != pageContent
下面我就对山岳库博的教程进行一些补充
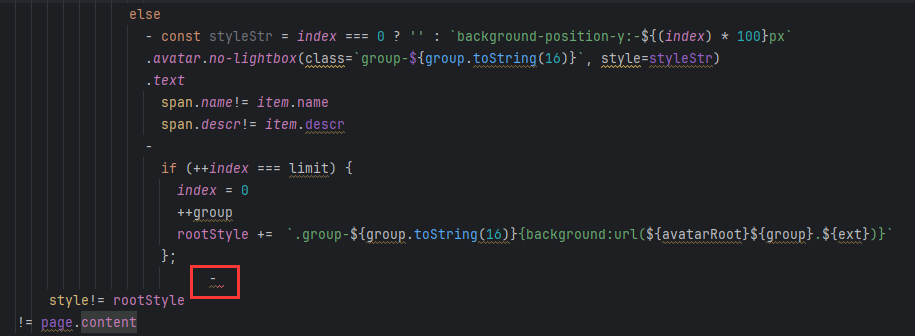
修改方案 1. 修改flink页面 修改 [blogRoot]\themes\butterfly\layout\includes\page\flink.pug
1
2
3
4
5
6
7
8
9
10
11
12
13
14
15
16
17
18
19
20
21
22
23
24
25
26
27
28
29
30
31
32
33
34
35
36
37
38
39
40
41
42
43
44
45
46
#article-container .flink if site.data.link - let index = 0 // 计数器,不要修改 let group = 0 // 分组计数器,不要修改 // 头像文件名,按需修改 const avatarRoot = './sprites/avatar-' const ext = 'jpg' // 头像拓展名,按需修改 const limit = 0 // 每张图片头像数量限制,按需修改,需要和精灵图保持一致 // 样式表,不要修改 let rootStyle = `.group-0{background:url(${avatarRoot}0.${ext})}` - each list in site.data.link if list.class_name h2!= list.class_name if list.class_desc .flink-desc!= list.class_desc - let className = list.beautify ? 'beautify' : 'terse' - if (list.deprecated) className += ' deprecated' .flink-list(class = className) each item in list.link_list a.flink-item(href = url_for(item.link), target = '_blank') if list.beautify if item.tag span.card-tag!= item.tag img.card-bg.no-lightbox(src = url_for(item.siteshot)) .info if list.deprecated .text span.name!= item.name else - const styleStr = index === 0 ? '' : `background-position-y:-${(index) * 100}px` .avatar.no-lightbox(class=`group-${group.toString(16)}`, style=styleStr) .text span.name!= item.name span.descr!= item.descr - if (++index === limit) { index = 0 ++group rootStyle += `.group-${group.toString(16)}{background:url(${avatarRoot}${group}.${ext})}` }; - style!= rootStyle != page.content
我复制到WebStorm的时候缩进有问题,而且编译器提示某些变量没用到,就以为有问题。(我是小白,大佬请见谅)
后面本地测试的时候,会报错,可以根据报错提示修改对应错误,实在不行就问chatGPT:dog:
2. 修改flink样式 修改 [blogRoot]\themes\butterfly\source\css\_page\flink.styl样式,这一部分和教程一样
1
2
3
4
5
6
7
8
9
10
11
12
13
14
15
16
17
18
19
20
21
22
23
24
25
26
27
28
29
30
31
32
33
34
35
36
37
38
39
40
41
42
43
44
45
46
47
48
49
50
51
52
53
54
55
56
57
58
59
60
61
62
63
64
65
66
67
68
69
70
71
72
73
74
75
76
77
78
79
80
81
82
83
84
85
86
87
88
89
90
91
92
93
94
95
96
97
98
99
100
101
102
103
104
105
106
107
108
109
110
111
112
113
114
115
116
117
118
119
120
121
122
123
124
125
126
127
128
129
130
131
132
133
134
135
136
137
138
139
140
141
142
143
144
145
146
147
148
149
150
151
152
153
154
155
156
157
158
159
160
161
162
163
164
165
166
167
168
169
170
171
172
173
174
175
176
177
178
179
180
181
182
183
184
185
186
187
188
189
190
maxWidth (value) @media screen and (max-width : unit(value, px)) {block} minWidth (value) @media screen and (min-width : unit(value, px)) {block} .flink-list display flex flex-wrap wrap .flink-item position relative border-radius 8px overflow hidden border var (--km-button-border) background var (--hl-bg) &:hover text-decoration none !important box-shadow var (--km-subt-shadow) border var (--km-light-border) .avatar transition all .6s border-radius 50% background-size cover width 100px height 100px .card-tag position absolute color white font-size 10px left 0 top 0 padding 4px 8px background #0084FF z-index 1 border-bottom-right-radius 12px transition all .6s .text display flex flex-direction column padding-right 10px .name max-width 100% font-weight bold text-overflow ellipsis white-space nowrap overflow hidden .descr margin-bottom 10px font-size small overflow hidden max-height 52px &.beautify .flink-item width calc (25% - 16px ) height 210px margin 8px transition all .6s +maxWidth (1000 ) width calc (33% - 16px ) +maxWidth900 () width calc (25% - 16px ) +maxWidth (700 ) width calc (33% - 16px ) +maxWidth (500 ) width calc (50% - 16px ) +maxWidth (350 ) width calc (100% - 16px ) .card-bg position relative height 60% min-width 100% object-fit cover margin 0 !important transition all .6s !important filter blur (0 ) .info position relative height 40% transition background .6s , height .6s .avatar position absolute left -32px top -32px transform scale (.2 ) .text position relative top 0 margin-left 30px transition all .6s +minWidth (500 ) &:hover .card-bg height 35% filter blur (3px ) .info height 66% background #F2B94B color white .avatar left -10px top -50px transform rotateZ (-35deg ) rotateX (360deg ) rotateY (360deg ) scale (.6 ) .text top 26px margin-left 10px .descr max-height 78px .card-tag left -100% &.terse &:not (.deprecated) .flink-item height 100px .flink-item width calc (25% - 12px ) padding 6px margin 6px +maxWidth1024 () width calc (33% - 12px ) +maxWidth (1000 ) width calc (50% - 12px ) +maxWidth900 () width calc (33% - 12px ) +maxWidth (700 ) width calc (50% - 12px ) +maxWidth (450 ) width calc (100% - 12px ) .info position relative height 100% width 100% .avatar position absolute transform scale (.7 ) left -10px top -6px .text position relative left 85px width calc (100% - 80px ) transition all .6s +minWidth (600 ) &:hover .avatar transform rotateX (180deg ) rotateY (180deg ) scale (.01 ) left -100px opacity 0 .text left 10px width calc (100% - 20px ) .text :first-child left 10px width calc (100% - 20px )
3. 添加link.yml数据 新建[blogRoot]\source\_data\link.yml,这里列举出所有的参数(多了class_desc和avatar)
1
2
3
4
5
6
7
8
9
10
- class_name: name class_desc: beautify: true deprecated: false link_list: - name: name link: url avatar: descr: text siteshot: url
4. 生成图片(精灵图) 根据佬提供的SpriteBuilder.jar,将其放在根目录下,然后启动jar包(需要提前装好环境 )
1 java -jar ./SpriteBuilder.jar
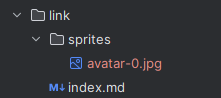
然后将生成的sprites文件夹放在[blogRoot]\source\_data\下。
就大功告成啦。
 微信
微信 支付宝
支付宝